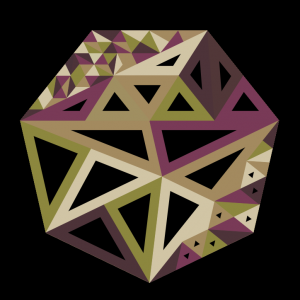
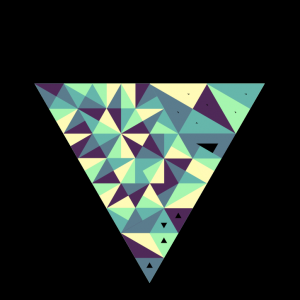
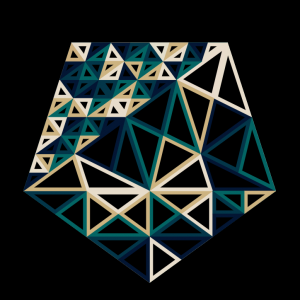
Aristotle

Currently live on fxhash at www.fxhash.xyz/generative/slug/aristotle

This experiment is live at www.funkyvector.com/#/home/design:aristotle

Famous last words, the creator.

It’s time to tessellate!

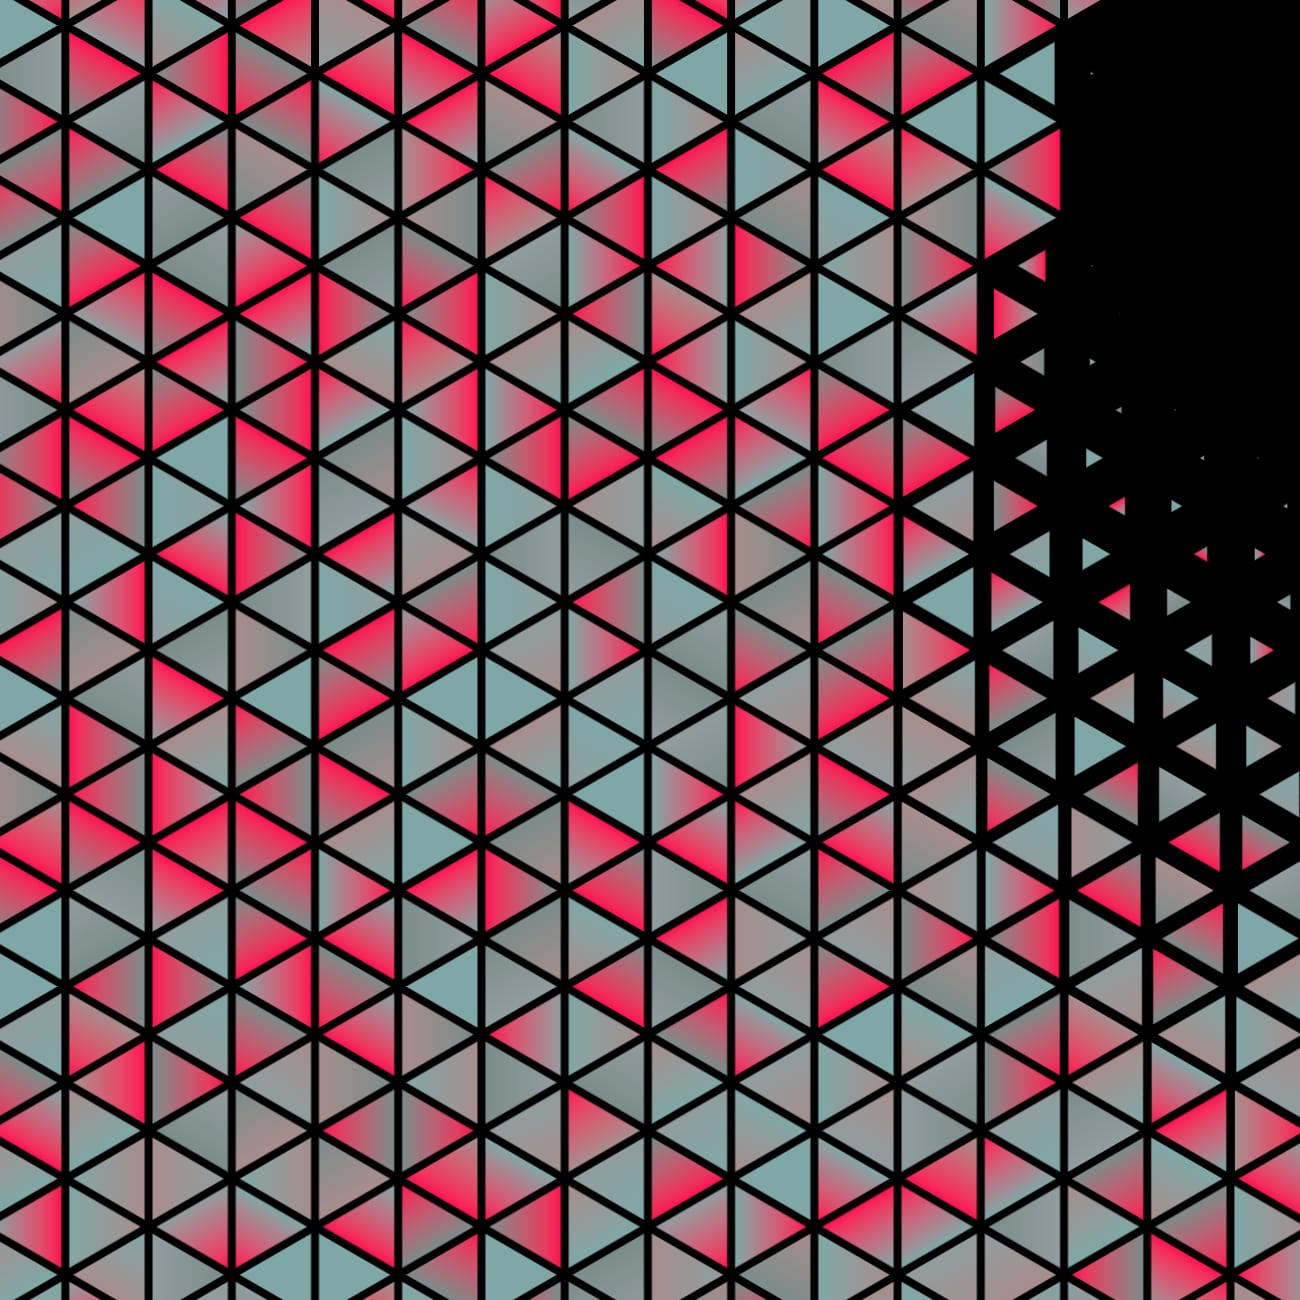
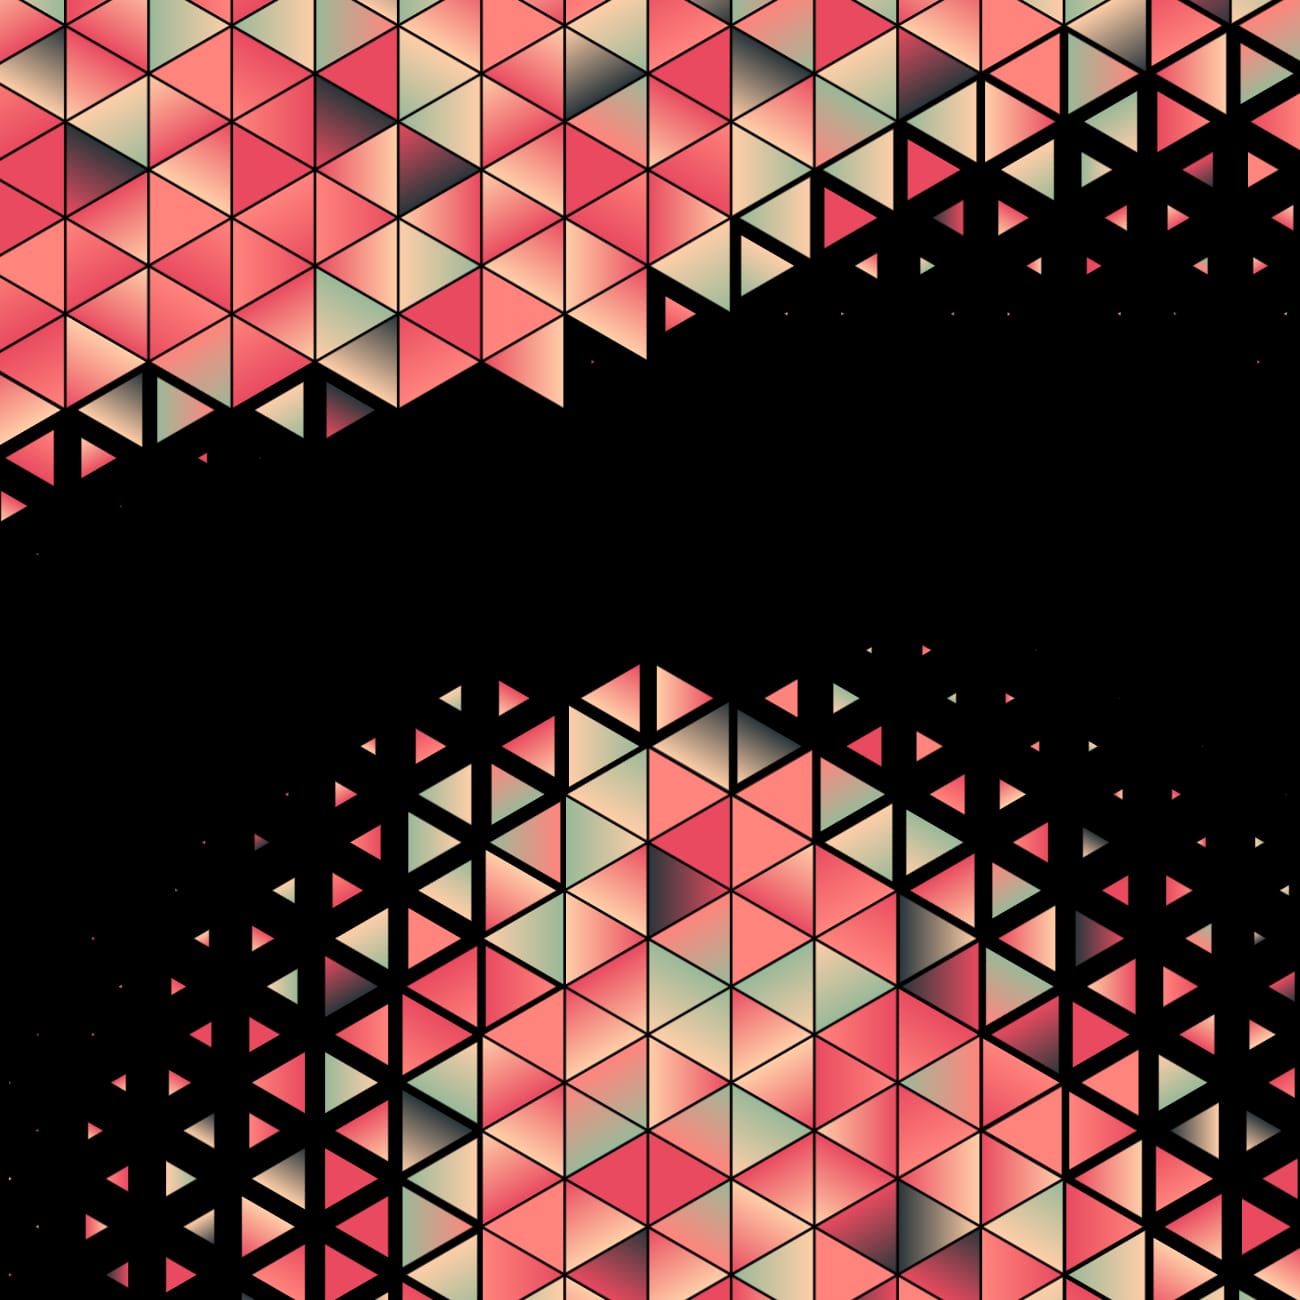
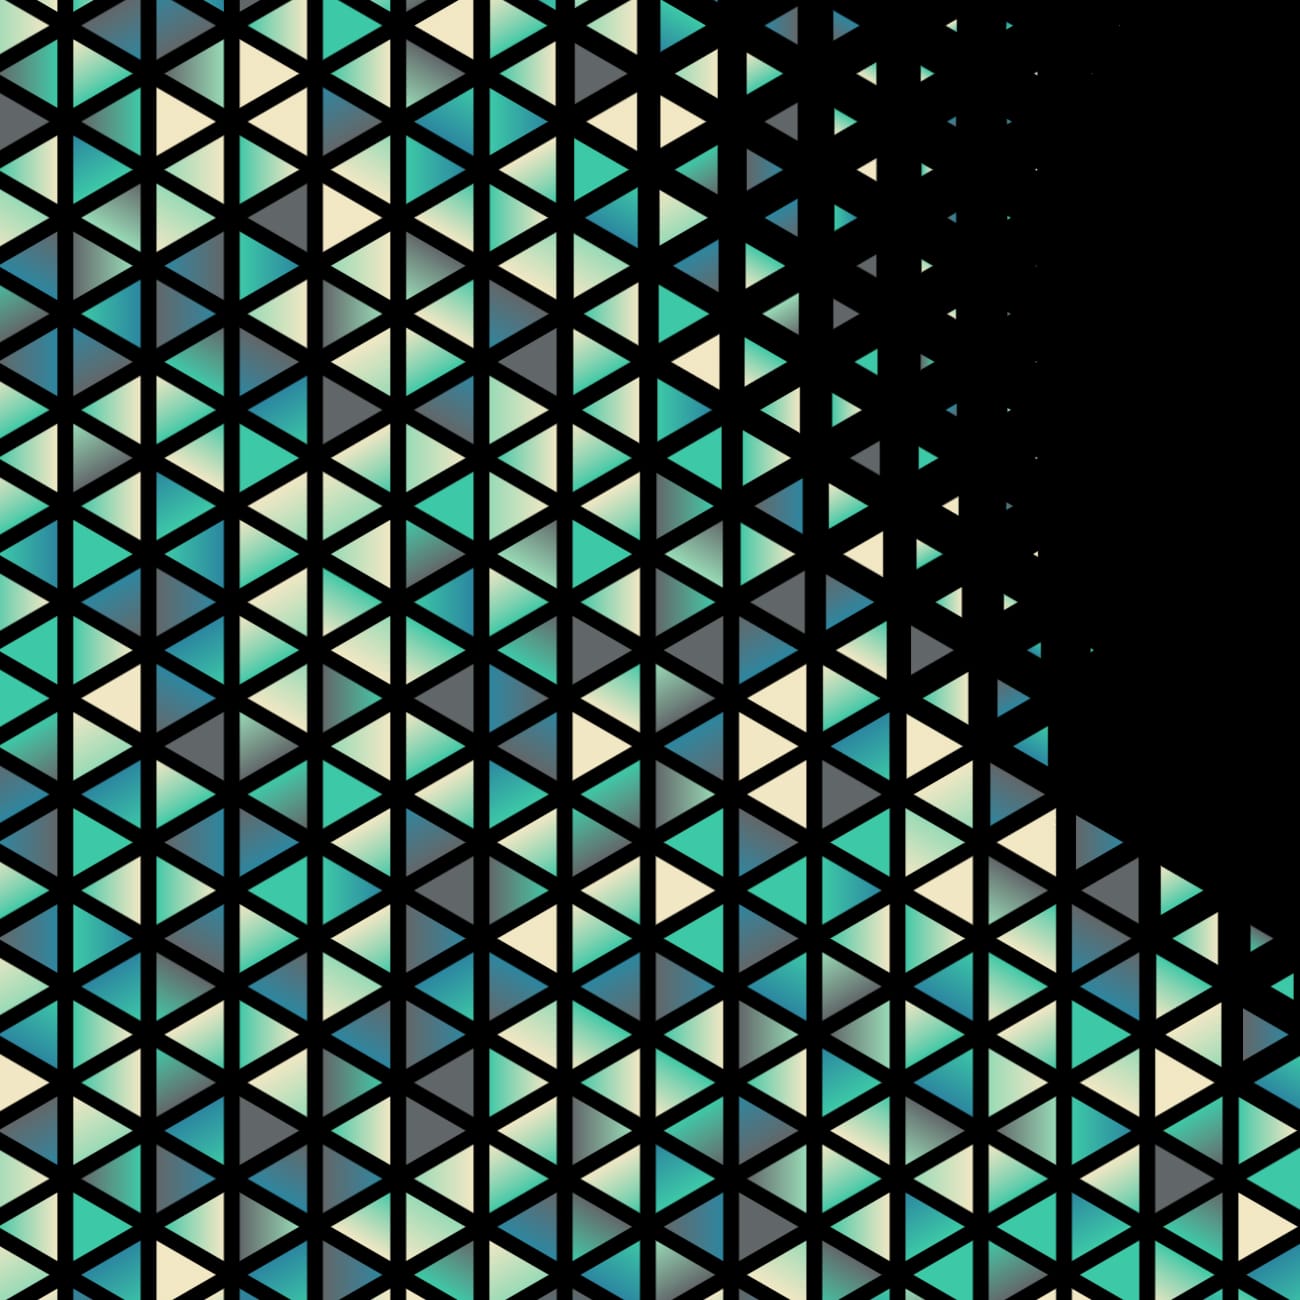
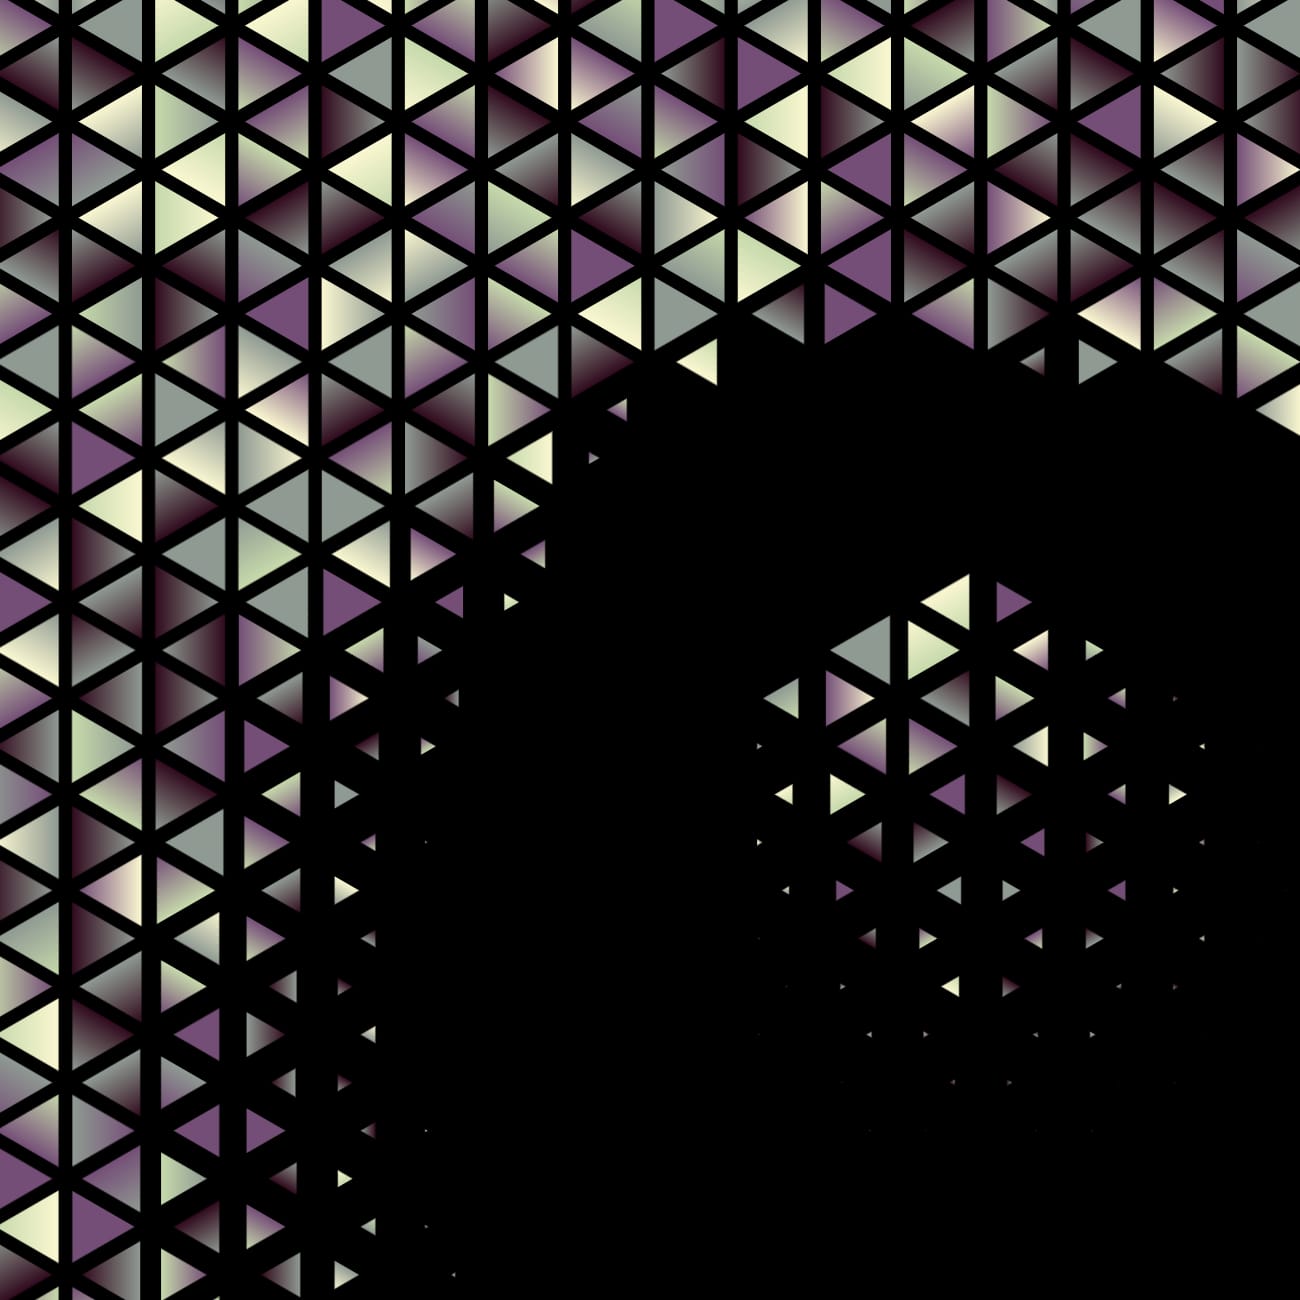
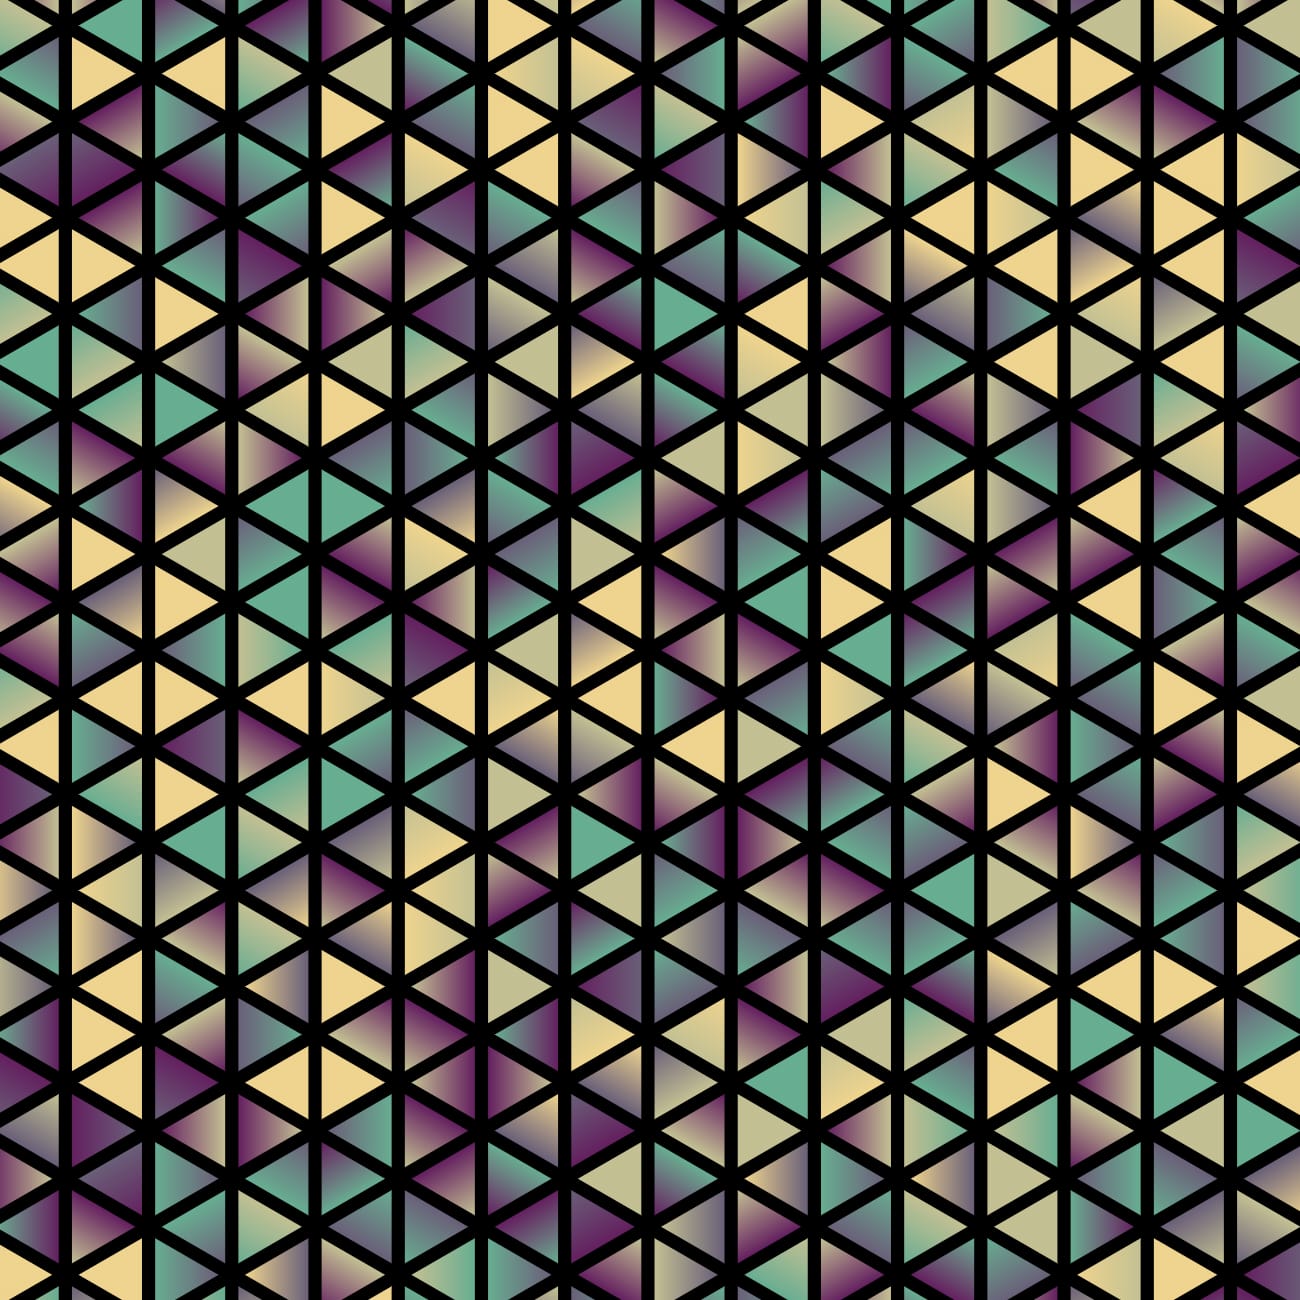
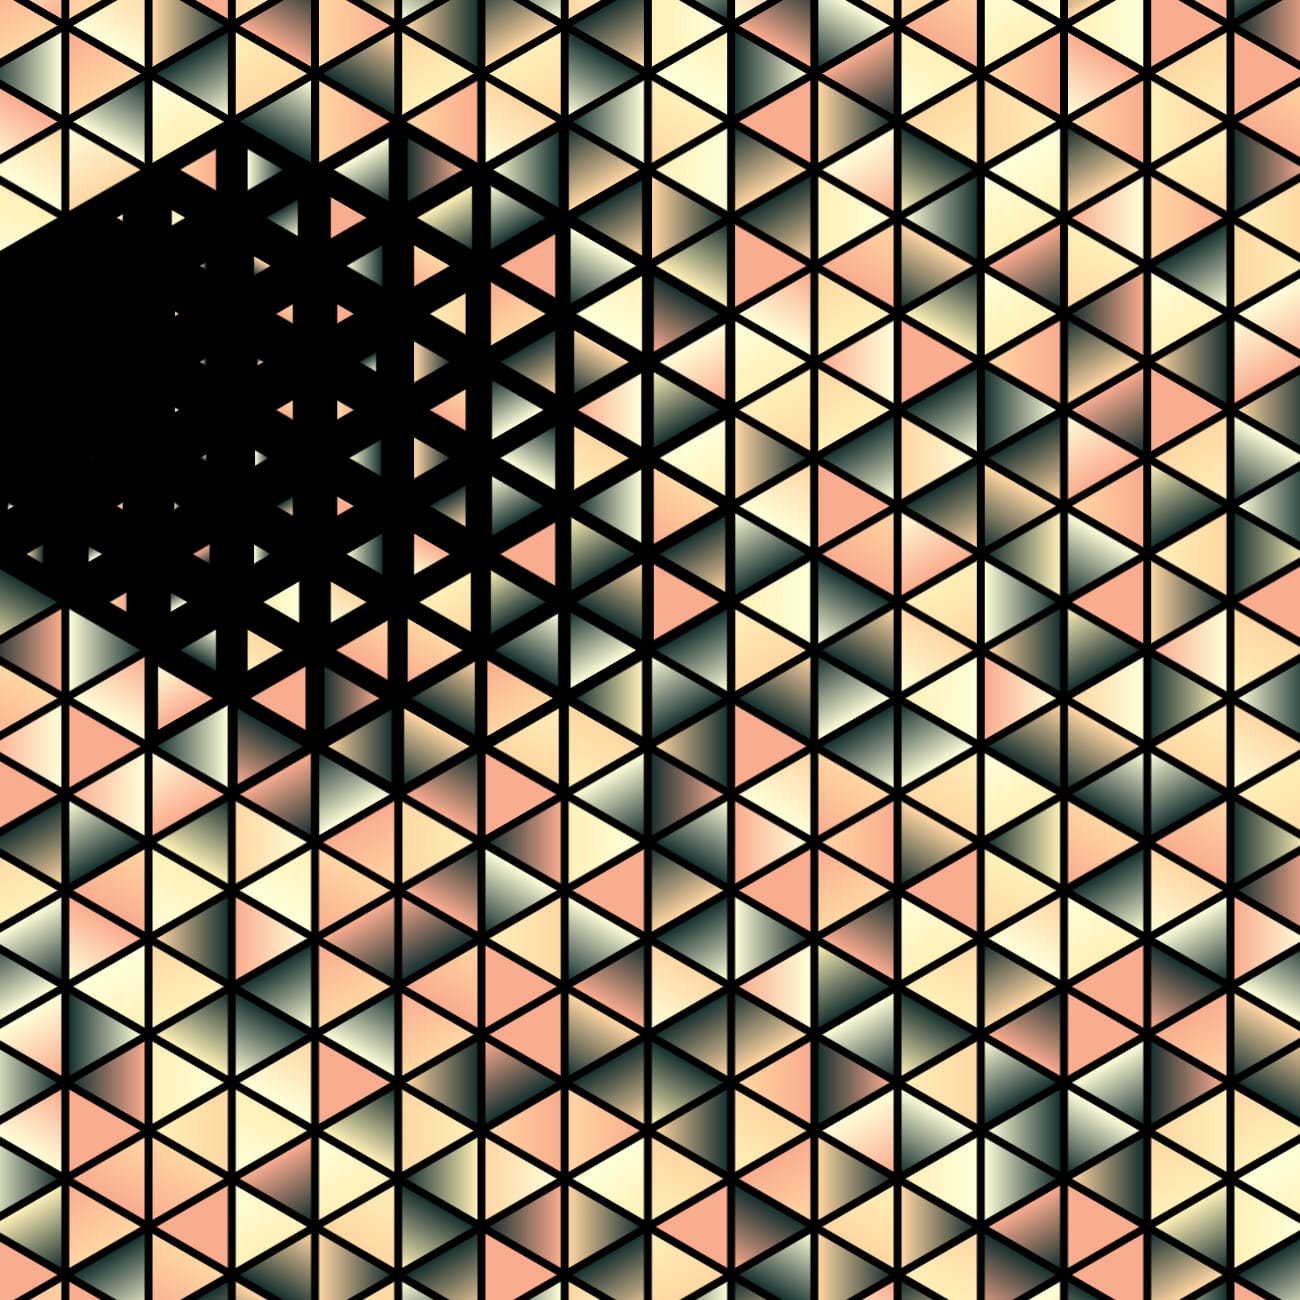
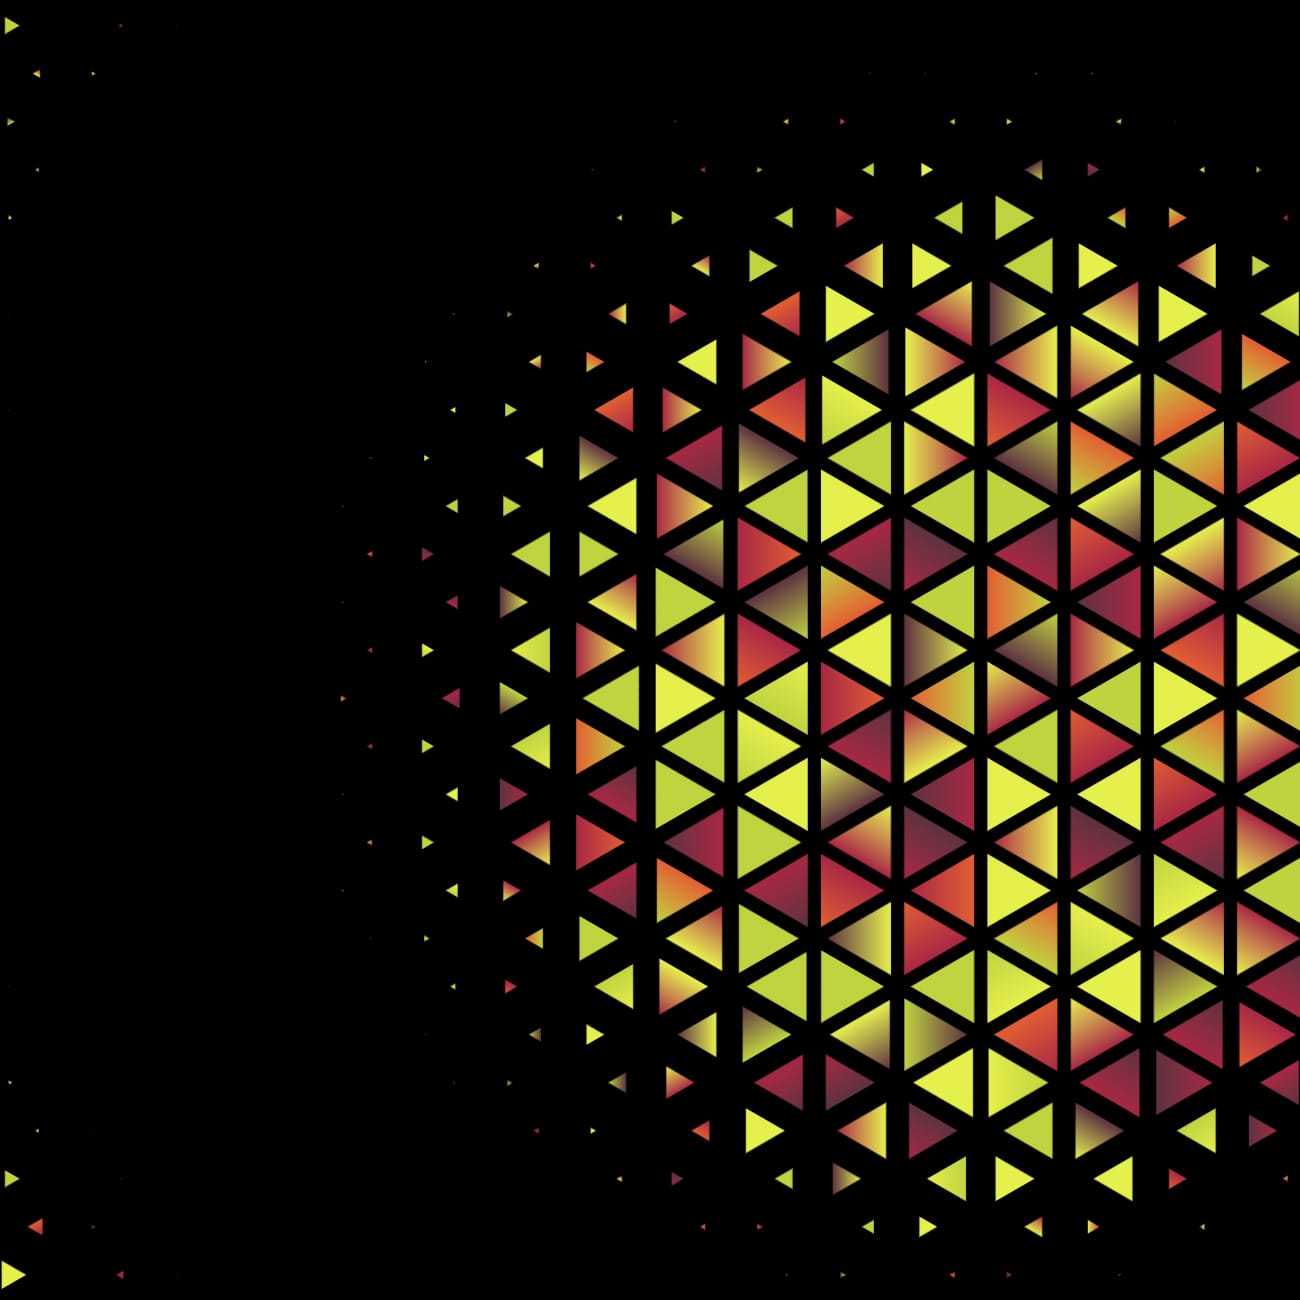
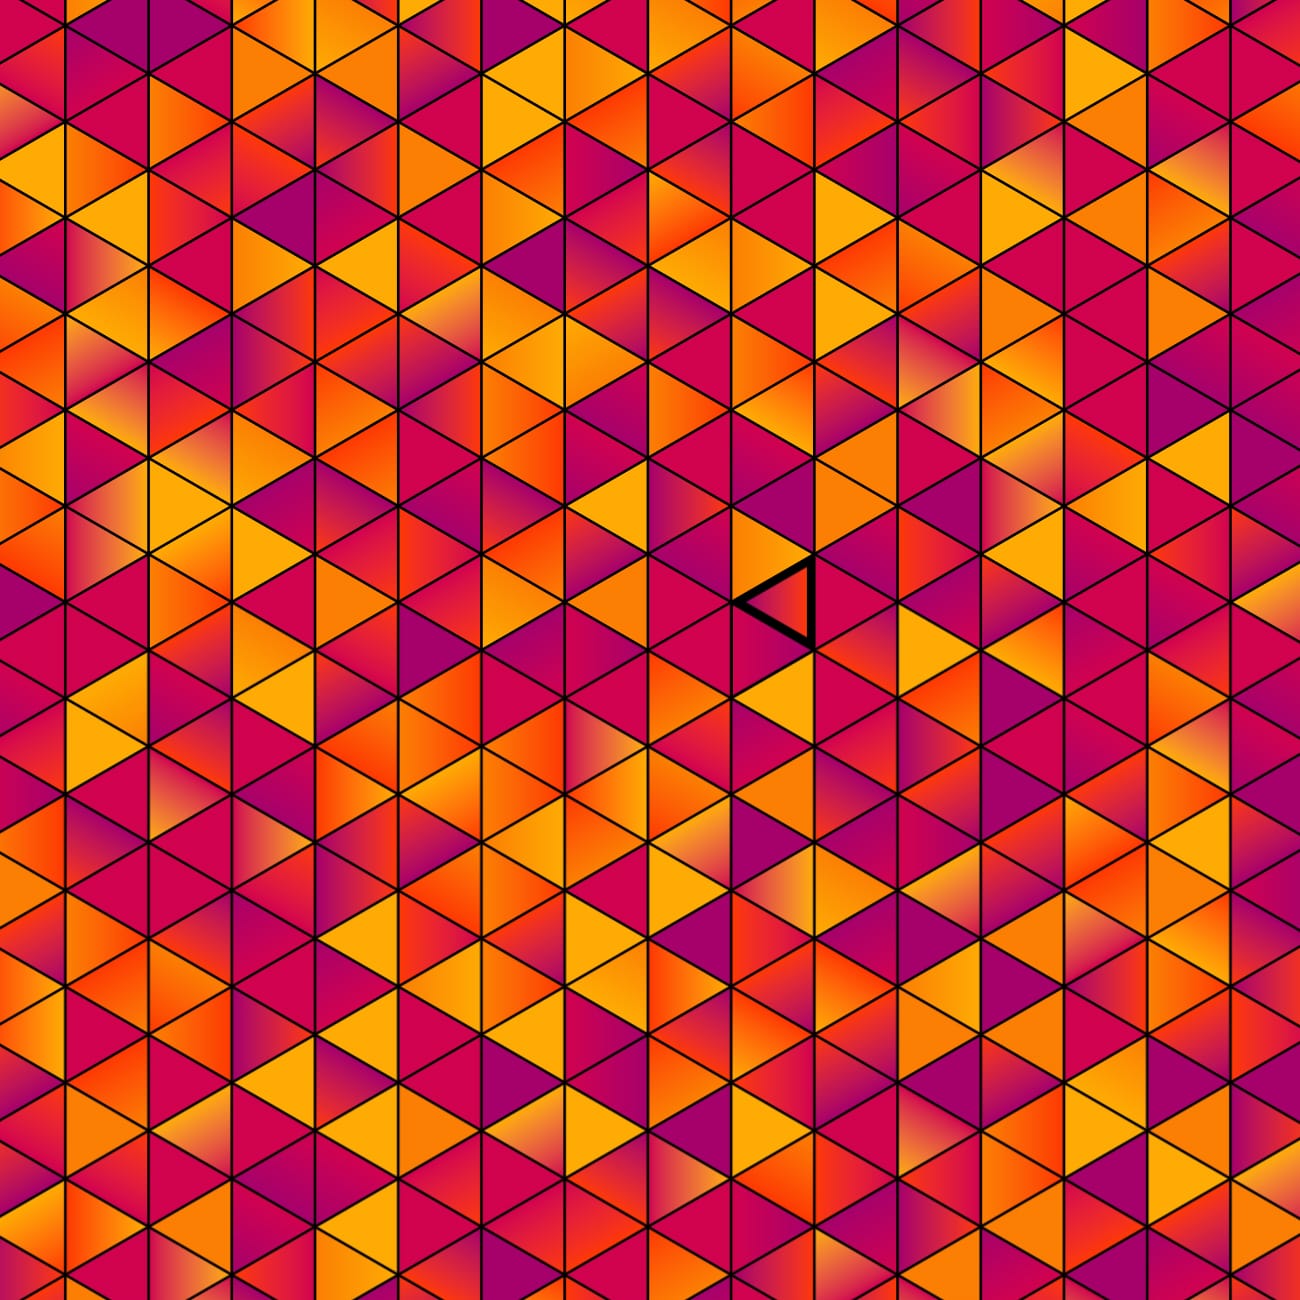
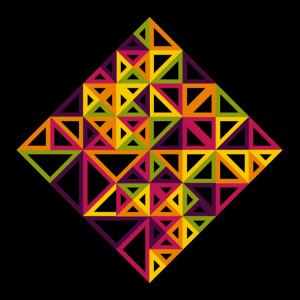
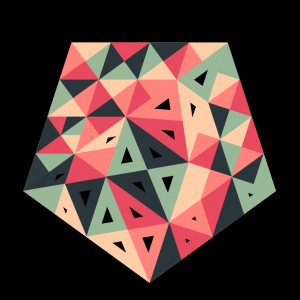
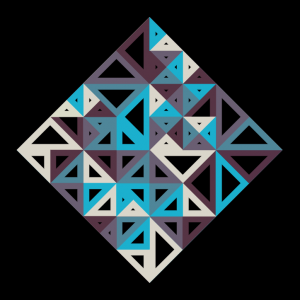
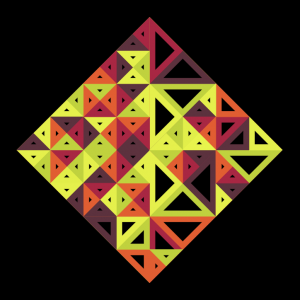
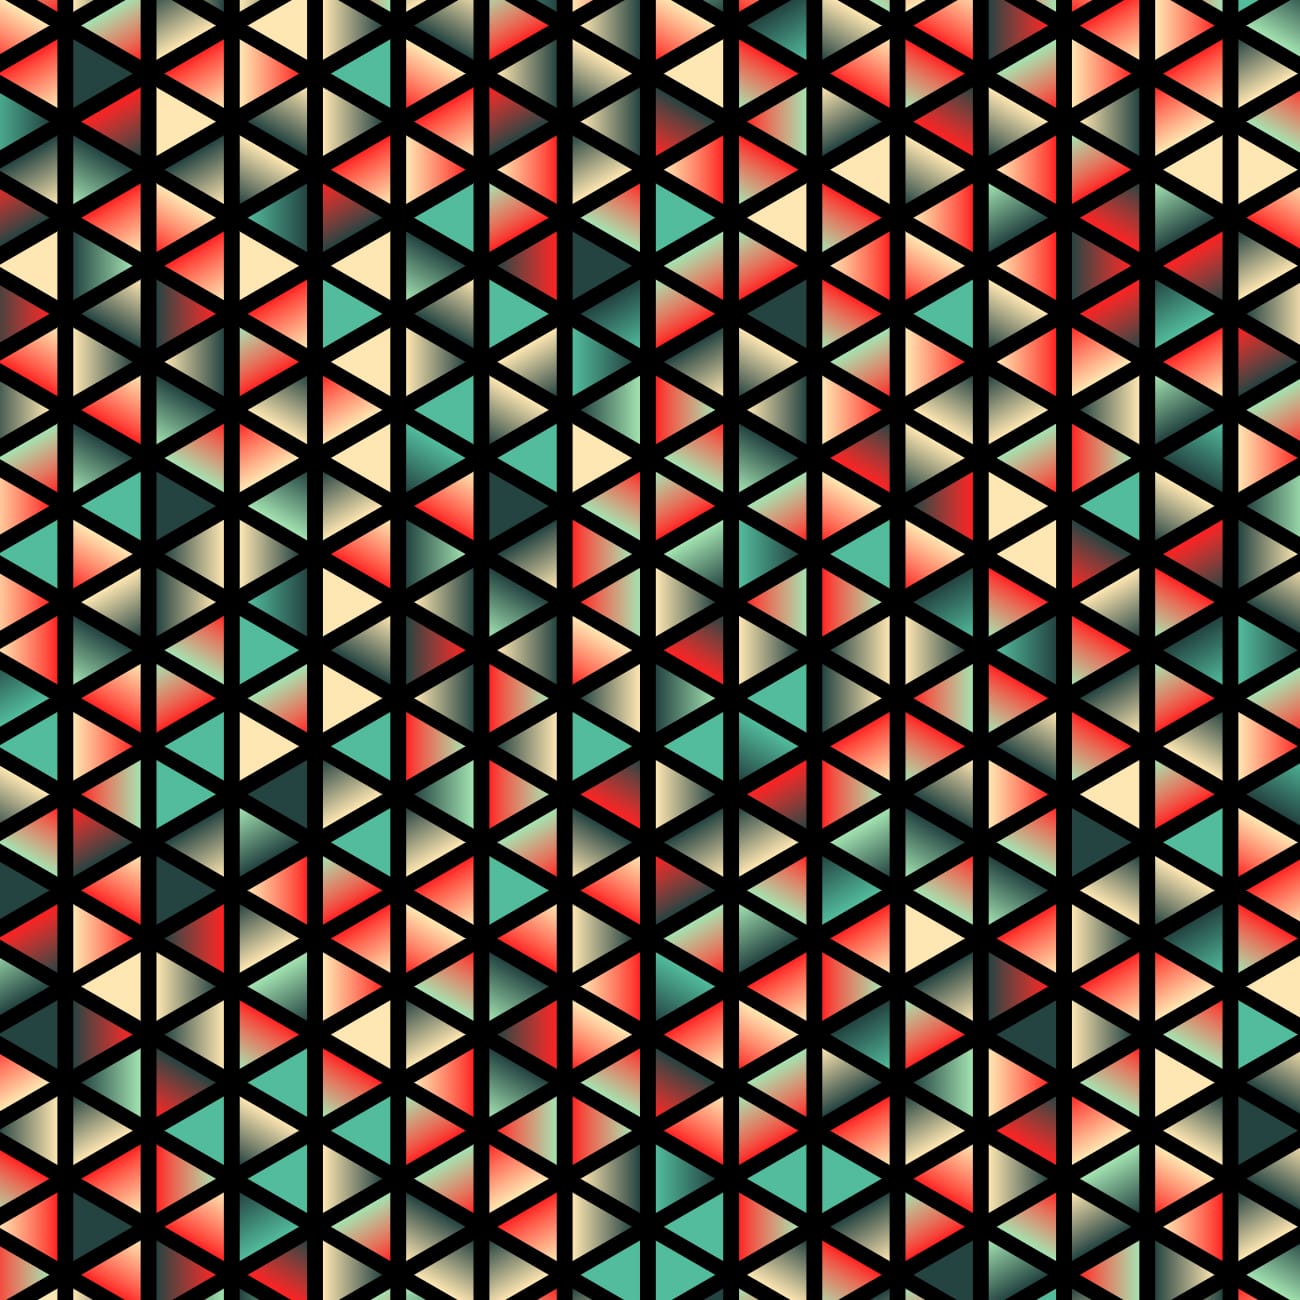
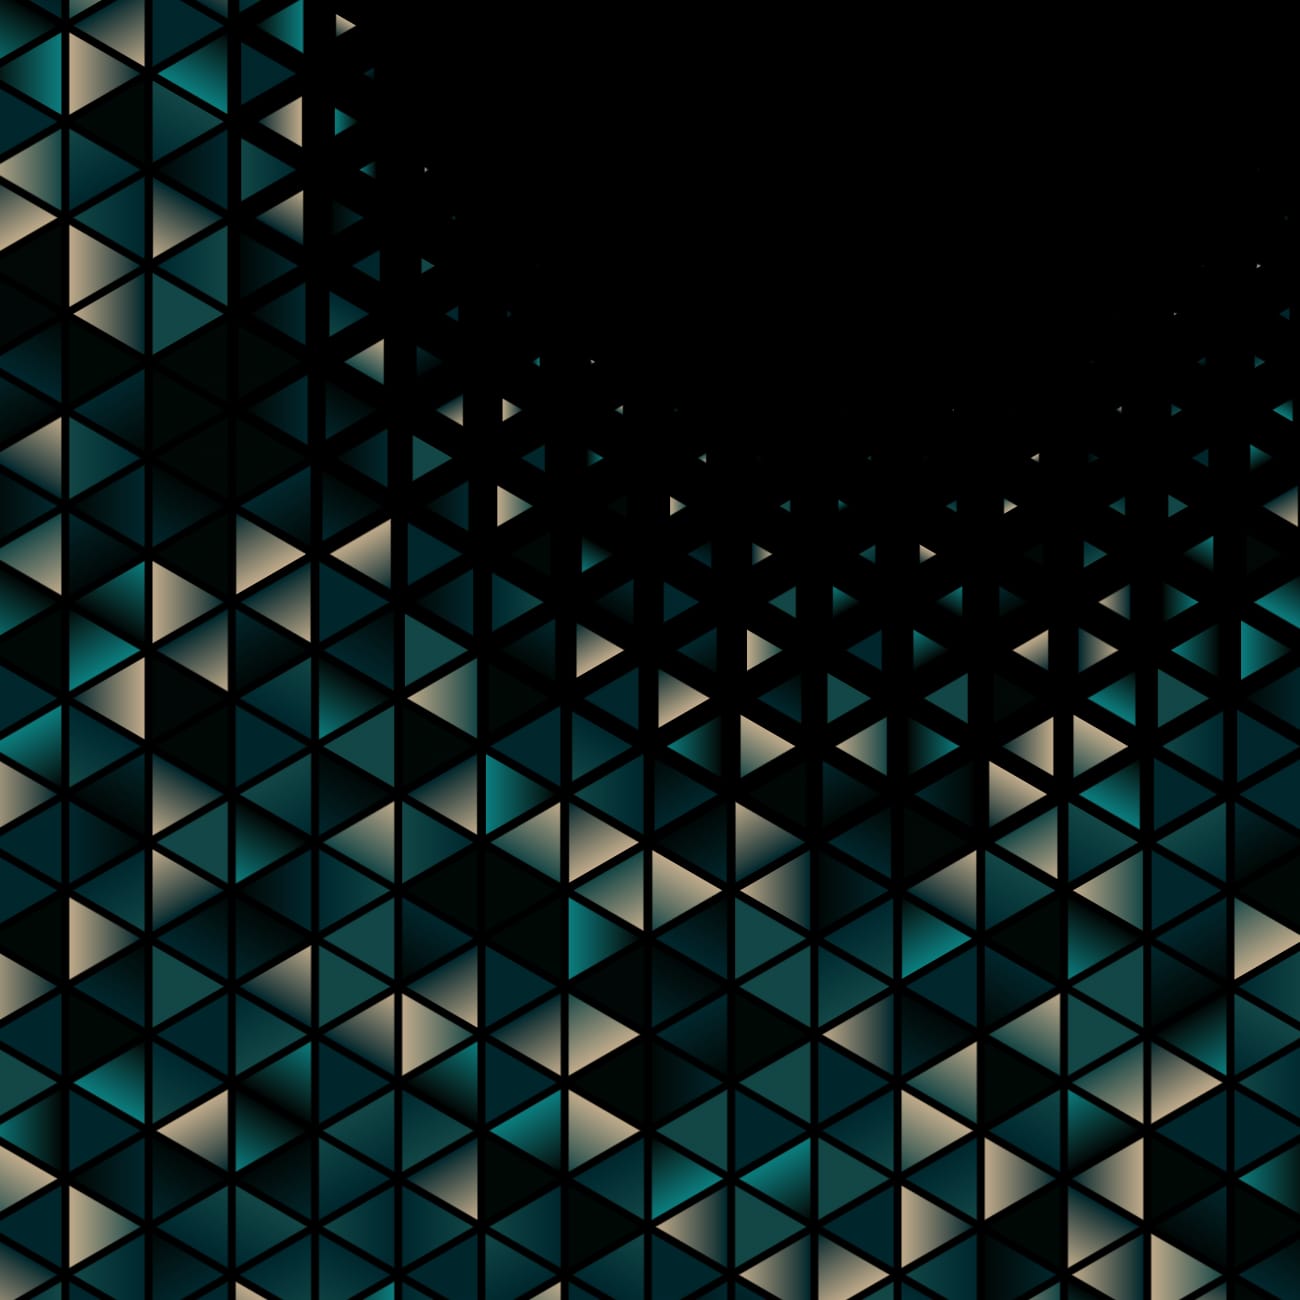
The easiest tessellation is squares. The second easiest is triangles, and here we are. Animating triangles was the goal. The idea was similar to hexagon tile, but with 3 less sides and without the morphing colour idea (hexagon_tile picks neighbours and randomly chooses to adopt their colour or morph it). Instead, gradients were applied to each tile and each tile would be animated in and out of existence with a time based animation algorithm.

The other variation from usual FunkyVector graphics which are typically canvas based was to use Scalable Vector Graphics (SVG). Oh, vector, my friend! So easy to render, so easy to manipulate, so easy to animate with CSS transforms and transitions… but, no, not so friendly. It seems impossible to optimise any SVG performance when frame rates are challenged by too many operations. Even with the hardware acceleration of CSS transforms.

Aside from the swirly animations which are once again sin + cos with multiple oscillators, the other interesting feature is the gradient generation. Each variant of the piece has 3 sets of colour schemes, which internally have 16 gradients. These are defined inside SVG’s <defs> attribute.

    const createGradient = (gradientIndex) => {
      const numColours = 2;
      // following logic is good for gradients with 3 or more colours, seems over complicated for 2, but 2 colour gradients look better.
      // basically want to spread gradients from -100% -> 200% so they are smoother
      const start = r.getNumber(-100, 0);
      const end = r.getNumber(100, 200);
      const delta = end - start;
      const stops = Array(numColours)
        .fill()
        .map((_, colourIndex) => {
          const zeroToOne = colourIndex / (numColours - 1);
          const offset = start + zeroToOne * delta;
          return `<stop offset="${offset}%" stop-color="${c.getRandomColour()}"/>`;
        })
        .join("");
      return `<linearGradient id="Gradient${gradientIndex}" x1="0" x2="1" y1="0" y2="0">${stops}</linearGradient>`;
    };

Each triangle picks a Gradient# to use. Thanks SVG, that was easy!

The deadline: World Tessellation Day

This experiment, started in late 2021 is now ready for publishing. Definitely spawned by the Non Fungible Token (NFT) woop-doo, but the NFT craze looks like it’s fading away…
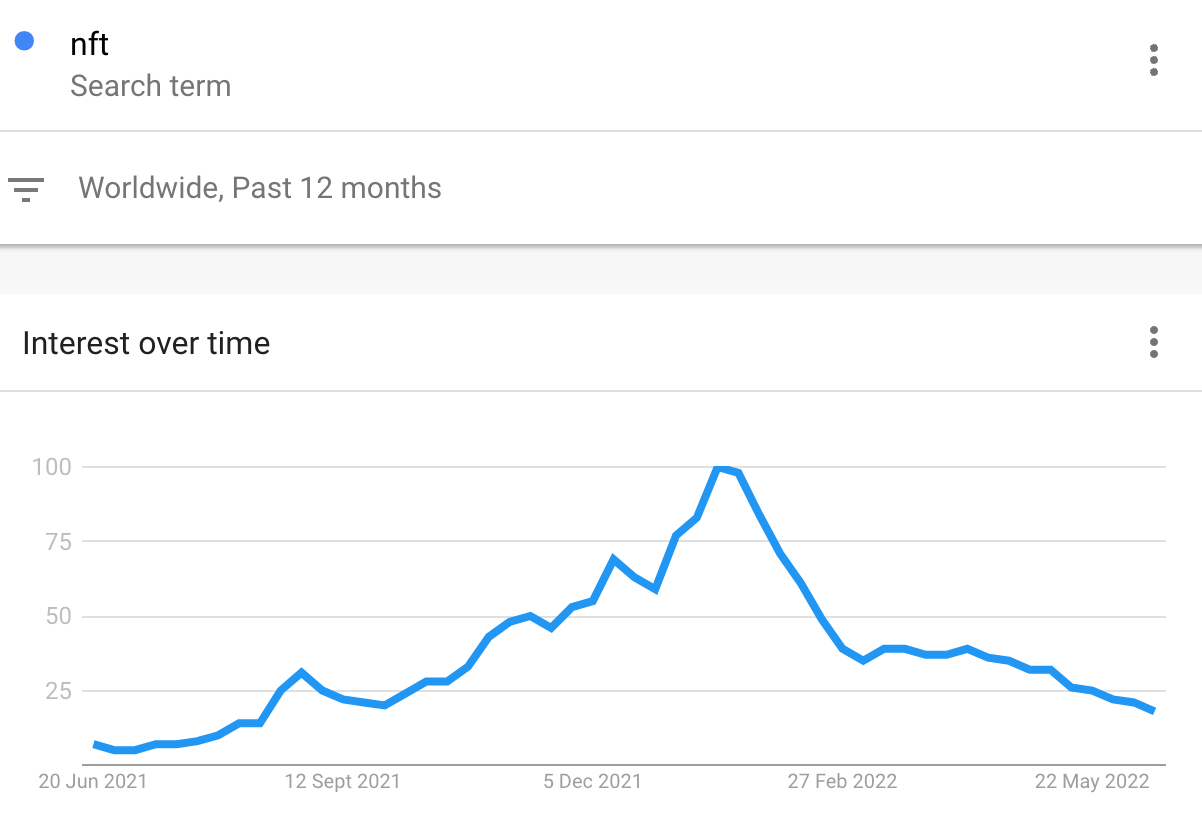
Prediction: NFTs won’t become popular again.

Never the less, this project had to be done. And there was a deadline in mind, not at the time of creation, but come midyear 2022, World Tessellation Day was looming on June 17th (M. C. Escher was born on this date in 1898).

Other recent tessellation

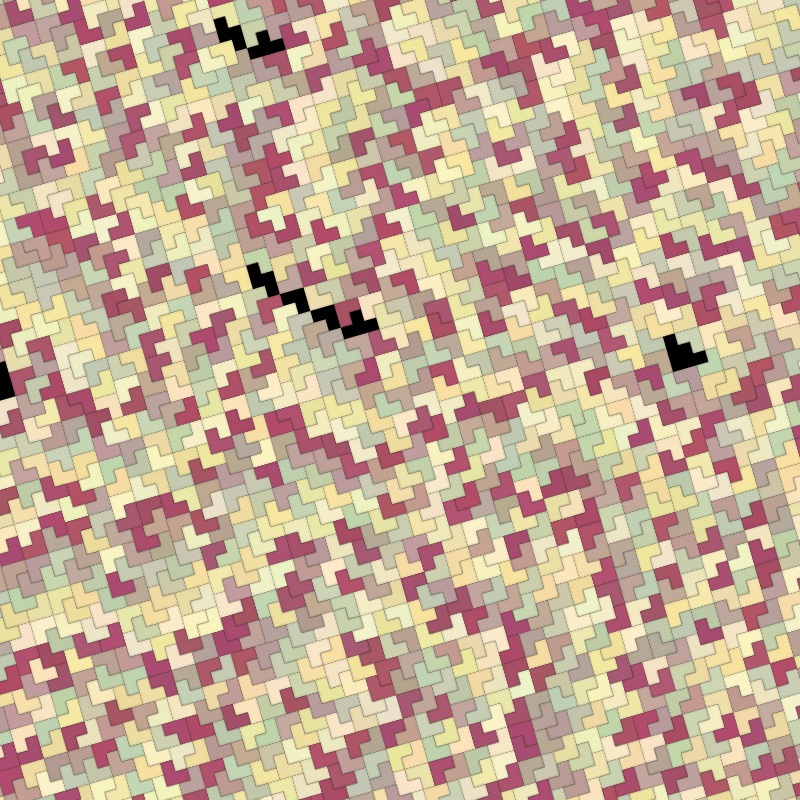
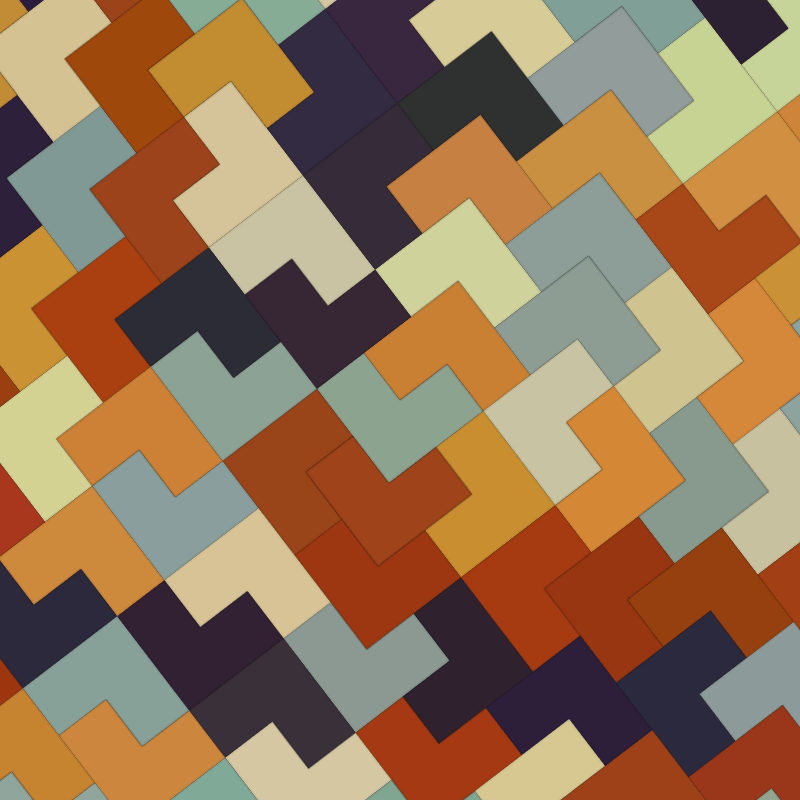
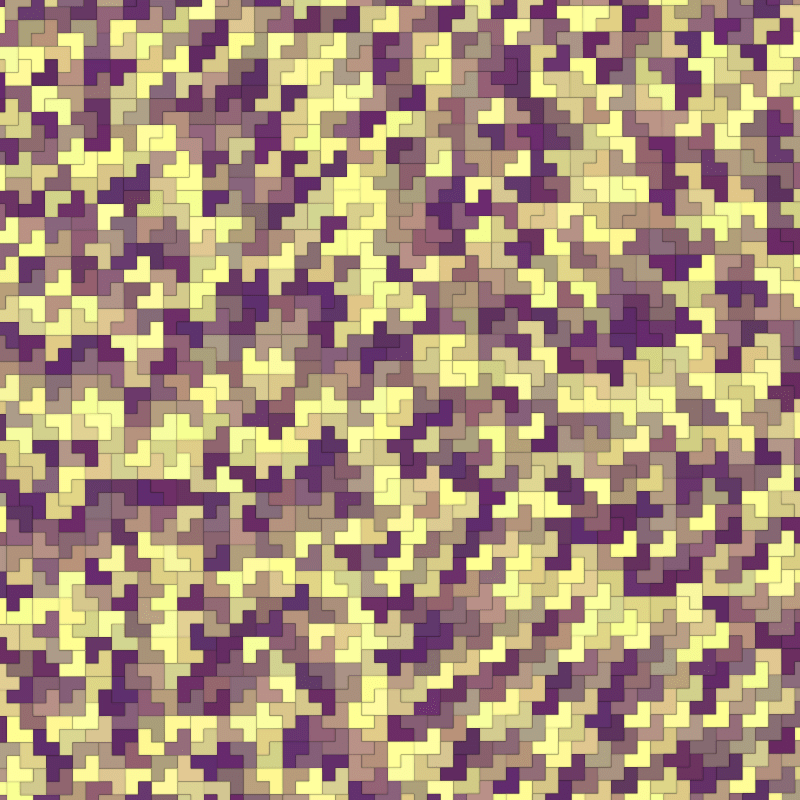
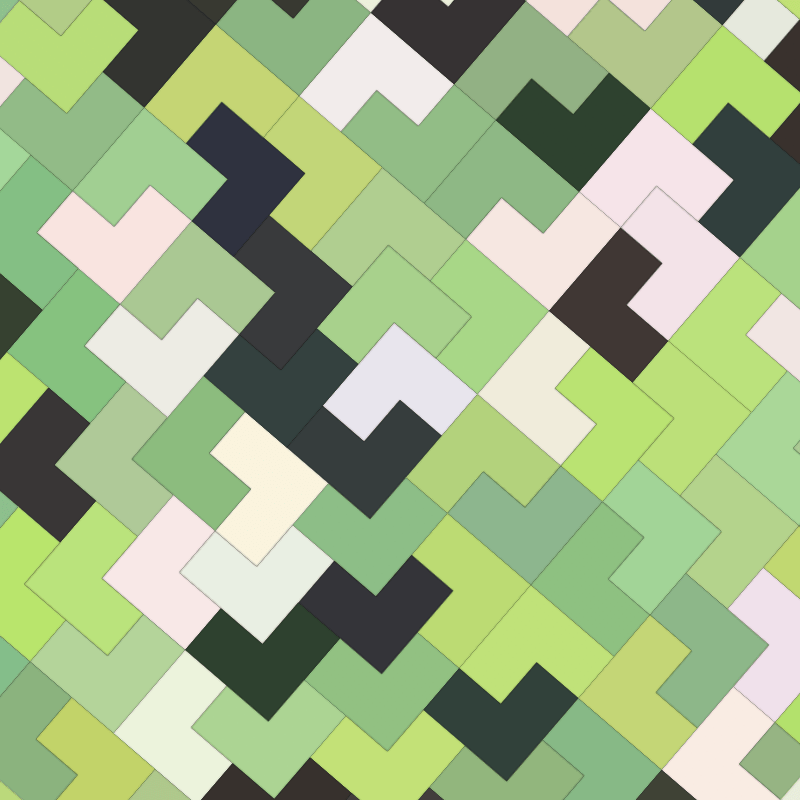
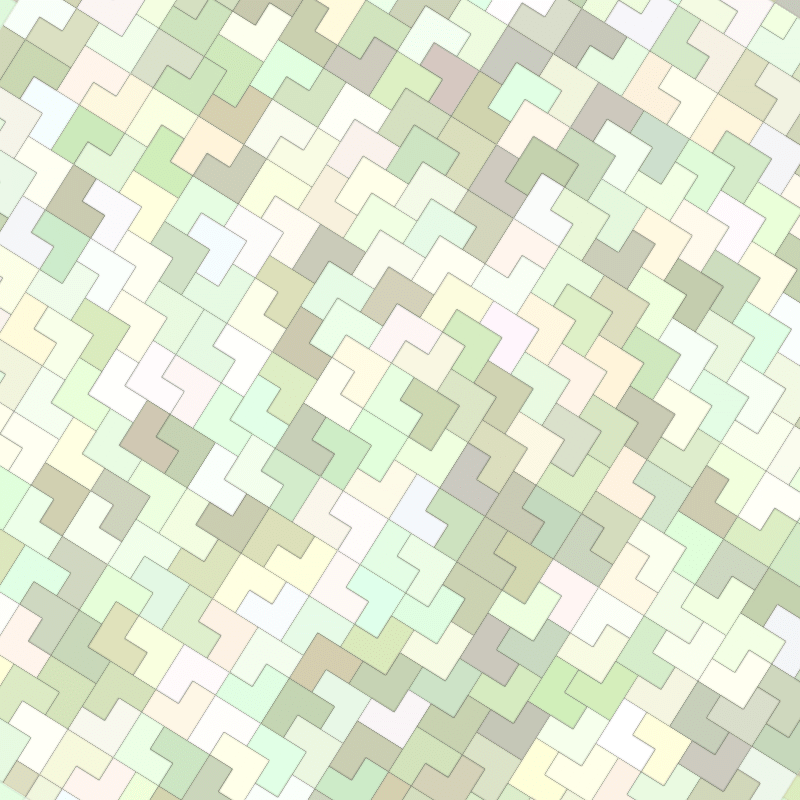
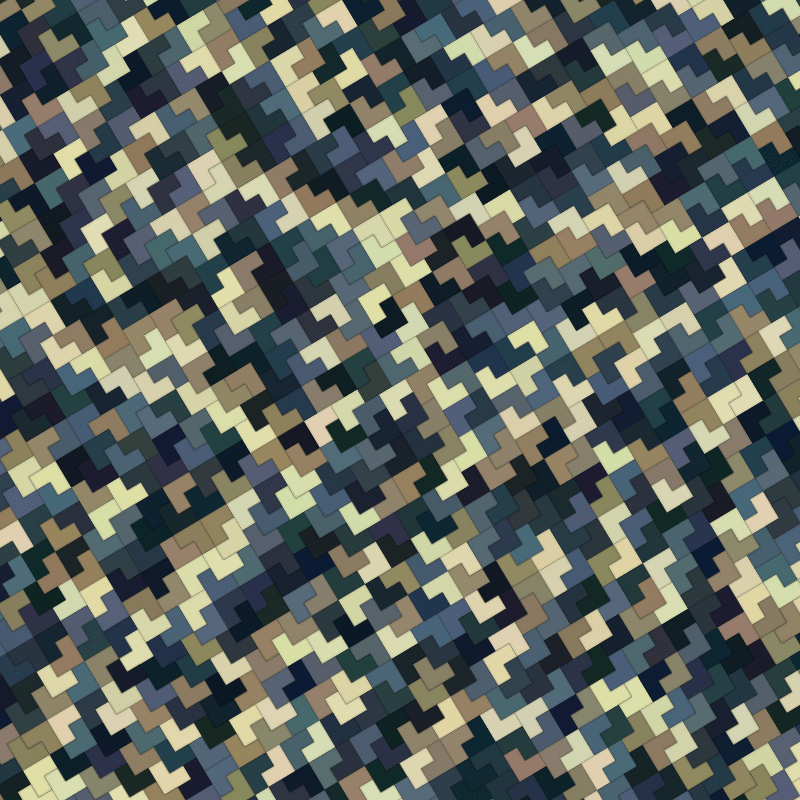
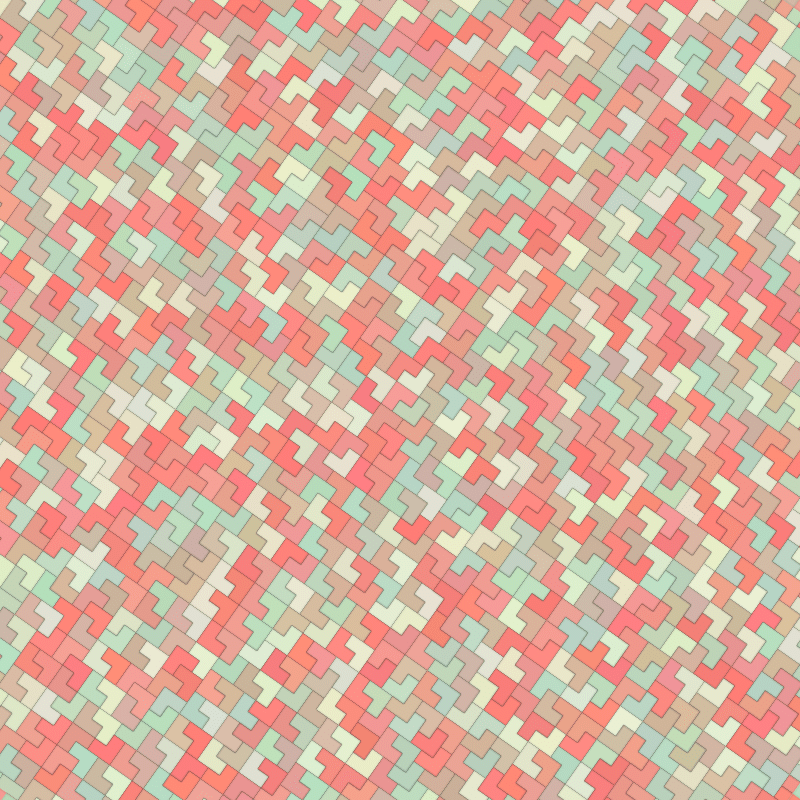
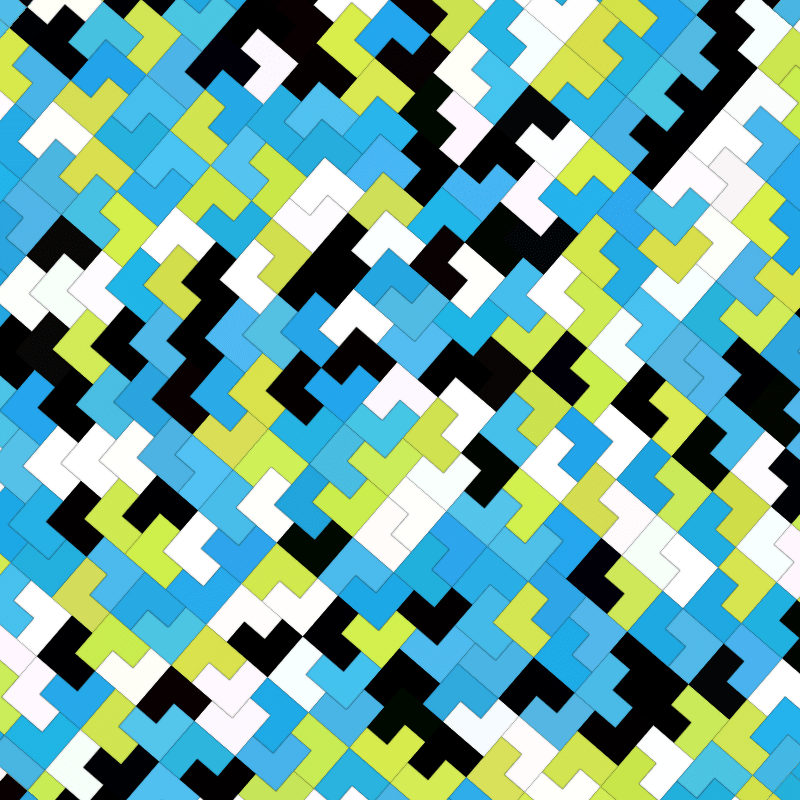
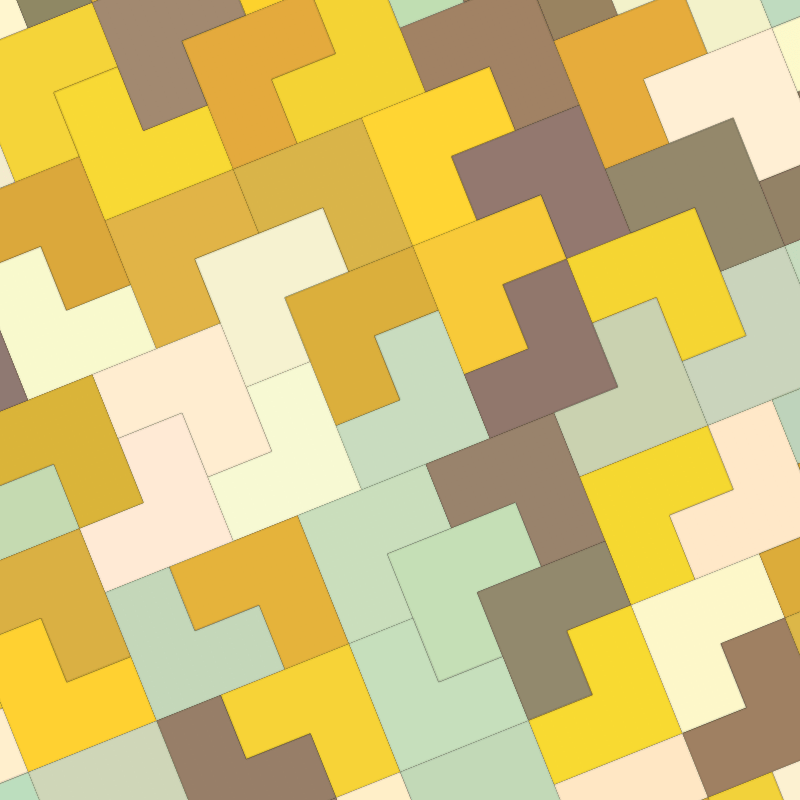
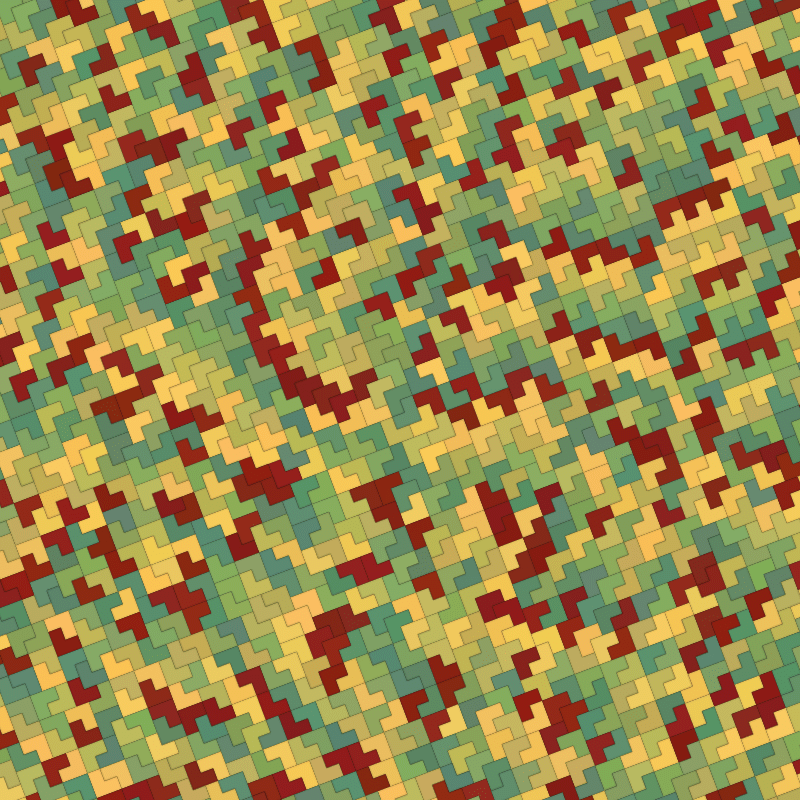
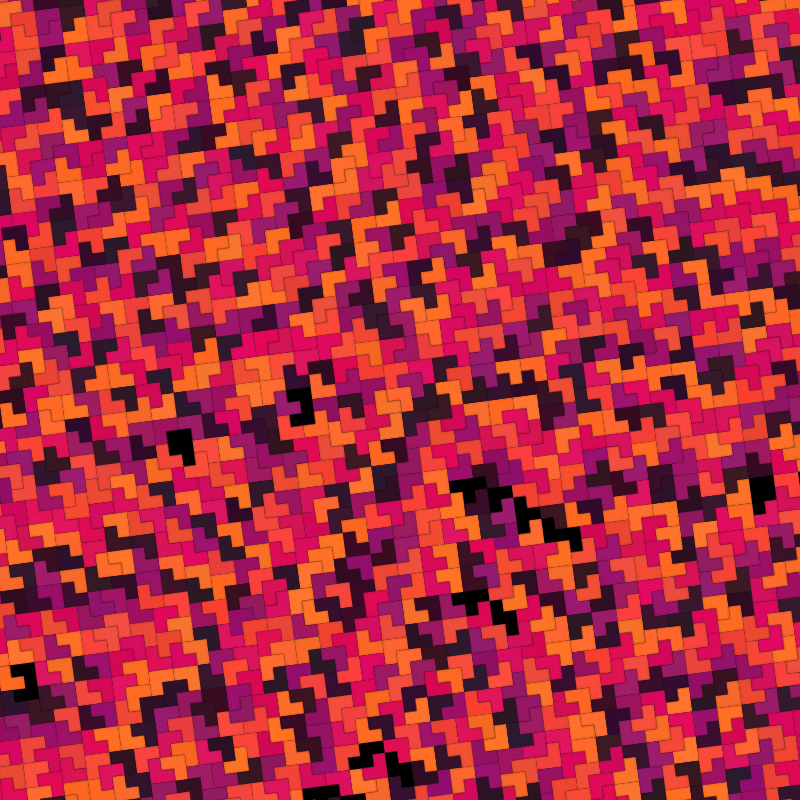
When it comes to tessellation, there are an infinite number of awesome ways to combine regular and irregular 2d objects into a pattern with no gaps. I had some fun with the L shaped Tetris piece a while ago, unfortunately there was a glitch in the algorithm, but only rarely seen. See last image.
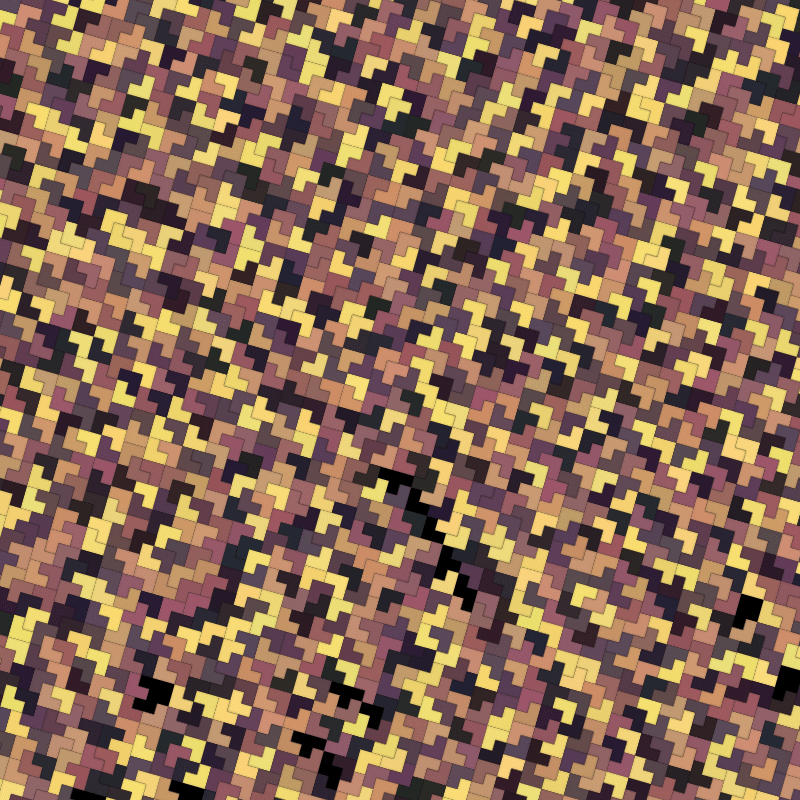
Now this is the muddle I like!
Proper flows
Ooops!
This one shows the error in the algorithm. Some pieces wouldn’t fit. Nice side effect though.

Pseudorandom Number Generator (PRNG) Error

The biggest hiccup was the identifying of an error in the FunkyVector pseudo random number generator, which was copy/paste off somewhere on the internet, because bit shifting, large numbers and, well, deterministic random generators are not my forte.

Turns out feeding in a seed as a float rather than an integer caused my rand function to interpret it as a string – a dot (.) is apparently not a valid symbol in a number, duh! This resulted in identical outputs from different hashes on fxhash.xyz. You can see them if you look at Interpolated. (hint #9 & #11)

Thanks to @sho for identifying this! There might be a fix that is backwards compatible but with 1000s of generated images online and with a promise that the FunkyVector app will always generate live links forever, this is risky.

Turns out the fxhash PRNG algorithm has a mild issue too, the same first random number (a call to fxrand()) will occur within 1000 iterations using any seed hash (fxhash), but luckily it will not result in two consecutive numbers which are identical.

const outputs = [];
let i = 0;
while (i < 1e5) {
  const {fxrand} = once(); // once is a fxhash 'factory', basically the fxhash.xyz boilerplate.
  const x = fxrand();
  const y = fxrand();

  const stash = x; // this has a duplicate in <1000 iterations.
  // const stash = y; // as does the second call, ignoring x.
  // const stash = `${x}:${y}`; // but with two consecutive calls, no worries.

  if (outputs.includes(stash)) {
    const foundIndex = outputs.indexOf(stash);
    console.log("found", stash, outputs[foundIndex], foundIndex, i);
    throw new Error("duplicate");
  }
  outputs.push(stash);

  if (i % 1e4 == 0) {
    console.log("progress", i);
  }

  i++;
}

The above outputs something like the following, in this case iteration 155 and 276 have the same first value:

progress 0
found 0.9891815185546875 0.9891815185546875 155 276
testfxhash.js:49
    throw new Error("duplicate");
    ^
Error: duplicate

Instead, commenting out stash = x and enabling const stash = `${x}:${y}` results in:

progress 0
progress 10000
progress 20000
progress 30000
progress 40000
progress 50000
progress 60000
progress 70000
progress 80000
progress 90000
all good after 100000 iterations

Side note, this last test also takes a hell of a lot longer since the array lookup is searching for a long string of numbers rather than finding a number in output.
How was FunkyVector made?

This post was originally written in 2016ish but never published… pressing publish now!

The basic concept was simple. The complexities were intense.

Standardised experiments

On 18 Dec 2014 I decided to publish a bunch of experimental graphics. I have been doing computer graphics in various forms for 25 years, but most usable code is made after circa 2005. There are various reasons to make code open source, in this case it was the attempt to maintain a level of professionalism that public facing code demands. In doing so, a standardised approach was needed, something rarely found in anything experimental. Hopefully I would comment crazy stuff and credit lifted stuff (many snippets have been ported, many one liners are copy+paste).

The first step was to create a structure for the existing generative graphics to adhere to and in doing so common interface for them to expose. An ongoing work in progress, the code is currently haphazard at best, but it used to be a disaster. Some common problems (often found elsewhere) were abstracted into modules like dom (that works in node too), colours (get/set palettes, get/mix colours), geom (line intersections), etc. Basically trying to reduce the reinventing the wheel. Ever had to draw a circle in canvas? I don’t know how many times I have typed something similar to this:

var circleRads = Math.PI * 2;
ctx.drawCircle = function(x, y, r) {
  ctx.arc(x, y, r, 0, circleRads, false);
}

FunkyVector was made as an extension of these experiments so the actual art that FunkyVector uses is still open source; each art piece is simply an experiment that exposes a set of properties. The experiments are loaded by FunkyVector which harnesses their algorithms and displays them in a handy user interface for exposure.

Reproducing on demand

To make a randomly generated graphic reproducible a seeded random implementation was required. Given any random input (originally integer, now optionally alphanumeric) an experiment would produce the exact same results at any resolution. Although a seeded random wasn’t entirely new to me, as is often the case, the real world application of one was!

Out of the box, most experiments flourished with the newly introduced random engine, but very soon into the project some abnormalities surfaced. Computer programs are predictable, and what seemed like strange errors at first would always turn out to be human error: forgetting to reset the random seed or allowing an extra call to the native random() to accidentally slip in, or leaving time based calculations in place. However after fixing these bugs, in some experiments the graphics would sometimes not play fair. After much investigation it turned out to be rounding errors. The winning solution was to adopt a similar approach to WebGL (et al.) fragment shaders in using a domain from zero to one for coordinates: all maths was calculated within the domain of 0 tp 1, and only on the final pass where pixels are actually rendered was values scaled to canvas size.

The first major problem was solved.

Rendering in the browser.

Never an innovator, rarely an early adopter, I like to use things that are at least somewhat established. Not so with canvas, I was on that shit like my mum’s nipple (footnote to having a child) . The vast majority of the experiments were done using canvas’s 2d context. I use canvas all the time, I have loved this concept since flash BitmapData days. This part was easy, and well documented.

Rendering on the server was not so easy.

Thanks to the cool folks it was possible though (respect to nodecanvas contributors). Node canvas is an implementation of canvas that runs in node built on Cairo (follow the rabbit hole). The api is identical to the Dom canvas, and since it runs in node one can make a canvas on a remote server, save it to disk or whatever you like. There is no window, document

The hard part was getting it running on a server, with the fun installation hurdles, and hooking up the application go renser these images oj demand. There still is lots of room for improvement within this code: concurrent rendering? Hah, nice one. Definitely achievable if there was a need for it, but not trivial.

What else?

Things I never wrote about 🙁

Webgl Rendering

Vector Bot

Backwards compatibility

Making it work on fucking phones

stripe + printful

print dimensions

print api

Recursive Polygon

New work in progress: “Recursive Polygon”. Also a working title, but they usually stick.

With generative graphics there is a moment that confirms the idea has some legs.

Most ideas actually never reach this moment. As the algorithm grows from dreamed visuals through to realised code, and the blurry region between, in early stages an algorithm often shares little similarity with the vision in the mind’s eye. A careful balance between persistence and vision is needed; persistence is needed to push through early failures and vision to realise when the idea or the particular approach is actually a lost cause.

Then hopefully, the moment where the vision works, which just happened: polygon recursive finally hits aesthetically rewarding status.

Here are some early screen captures:

Recursive Polygon - Screen Shot 2016-06-18 at 12.14.54 pm

Recursive Polygon - Screen Shot 2016-06-18 at 12.14.44 pm

Recursive Polygon - Screen Shot 2016-06-18 at 12.14.07 pm

Recursive Polygon - Screen Shot 2016-06-18 at 12.14.03 pm

Recursive Polygon - Screen Shot 2016-06-18 at 12.13.59 pm

Recursive Polygon - Screen Shot 2016-06-18 at 12.13.45 pm

Recursive Polygon - Screenshot

Making the product preview

Very soon after the initial launch of FunkyVector, this popped up in my twitter feed:

Very timely feedback as this feature actually was hovering right near the summit of next up on the hot priority list of must do. The todo list is extensive.

The task was to create a preview of a chosen design on a chosen product.

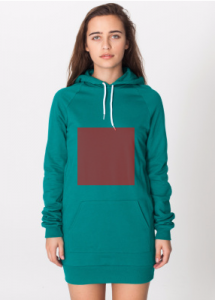
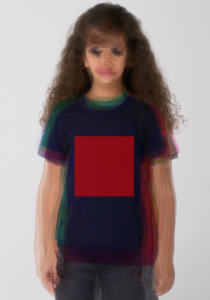
To achieve this a few problems had to be solved. There are thousands of images, each of which has to have a defined printing zone… see the red zone below. For each image this zone is potentially different. Additionally, since it is a live API that is out of my control, new images could show up at any time. A system is required to easily define all the existing items’ printing zones, and accommodate new items and their respective printing zones.

the job at hand
The task at hand was to define the red area for each product image.

The preliminary challenge in making FunkyVector was sourcing a printing solution, the whole project would never have been embarked upon if there was no suitable provider for API driven printing on demand. There are a number of options out there, but FunkyVector uses Printful for all print fulfilment. Their API makes it very easy to get started and is easy to work with. Unfortunately the API presents some holes, particularly for customers who might be dynamically generating artwork, which is the premise of FunkyVector. The missing information relates to ideal print resolutions required per product, and relative or absolute coordinates defining the positioning of the printable area on each product.

To render a mockup on screen, these holes would have to be filled with some data, in this case, my estimates.

The major problem was the sheer number of products (shirts, mugs, hoodies, etc.) available, within these, product variants (colour), and within these, sizes (S, M, L, XL, etc.).

I set on the task of making a tool running in a browser which incorporated a loader and a parser for consuming the API, and a makeshift editor for specifying the printable zones.

how-many-images
Only 4110 images to edit by hand. Fun weekend!

After a technically gorgeous load of all the products (read: iterating through the products API, nested ajax calls and the like) the possible product images were added to the DOM. Quite a few, coming in at more than four thousand!

how-many-uniques
Down to 866 images to edit, still quite vomit.

As assumed, there were some duplicates: different product variants were sharing the same image. These would share the same coordinates, so a lookup table was created to inform the FunkyVector app of the relevant product’s mockup position. After removing these, there were 866 images.

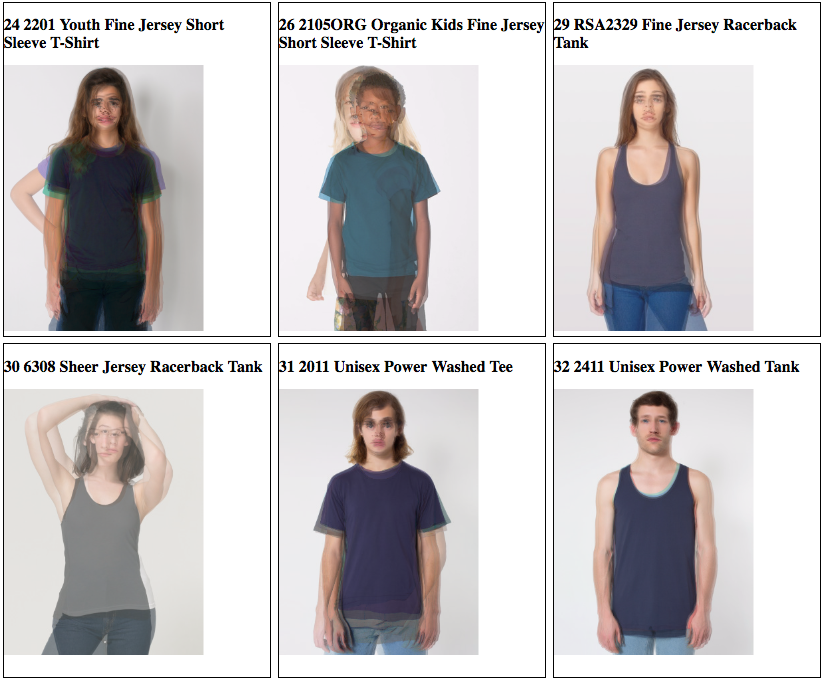
The total number of images was still too great. Duplicates were easy to discover, they shared the same filename, but perhaps some images were visually identical whilst having different filenames, I ignored these for the moment. However, some images might be visually similar enough to share coordinates. Further optimisation was possible by identifying these similarities, and grouping these products together. Bring in canvas context’s globalCompositeOperation property. By setting this to “darken” and drawing all of a product’s variants to one canvas, I could eyeball the amount of variation of images within a variant range. For images that looked quite clear (e.g. bottom right image) it was obvious that one set of coordinates would do. For images that were more blurry (e.g. top left) it may be necessary to define coordinates separately. In many cases products shared no likeness between their images.

overlays
Most of these products have variant images with similar enough positioning to share coordinates

The final editor allowed me to:

  1. toggle “share” mode (whether variants share coordinates or not),
  2. draw the coordinates on each variant (define the printing zone),
  3. export the data to JSON (make the data available to the main application).

You can see 1 and 2 in operation below:

Capture of the editor in use

And 3? Well, it’s quite a large wad of JSON, here’s an excerpt:

Back to the print fulfiller. I recommend Printful for their overall product. Their website, customer support, print quality, materials and delivery are all great. Their API is also good, but small things, including the subject of this post, would be awesome if solved and exposed to customers.

Hey Printful, do you want to use this data? I’d be happy to help out.

And a final image from the process. Apologies to the models and their parents, many other evil beasts emerged whilst working on this tool.

monster

What is FunkyVector?

Funkyvector is an application that creates unique algorithmically generated graphics in a web browser at screen resolution that are reproduced on a server at print resolution for production.

Let’s break that down.

An “application” is simply a piece of software. The advent of the smartphone made the “app” all hip and accessible, but the savvy amongst us know that applications have been around for ages, such as Microsoft Office or Paint. Nowadays, and for quite a number of years, applications can be created to run in a web browser; websites like Gmail or Facebook are apps in their own right.
“Unique” means just that, more on this later.

“Algorithmically generated” means the images are created with mathematics. FunkyVector initially had the illustrious working title of “The infinite print project”, indeed it is still referred to as such. Since the graphics are generated with maths, each algorithm (and there are many algorithms with their own stylised output) can create an infinite set of permutations, with the end goal being a printable graphic. Hence infinite print!

The funkyvector.com domain had been used for various graphical experiments, but it wasn’t until late 2014 when a friend suggested that a reproducible version of these experiments be made using a seeded random, that the seed was sown. The content on said domain was replaced with the infinite print project.

image
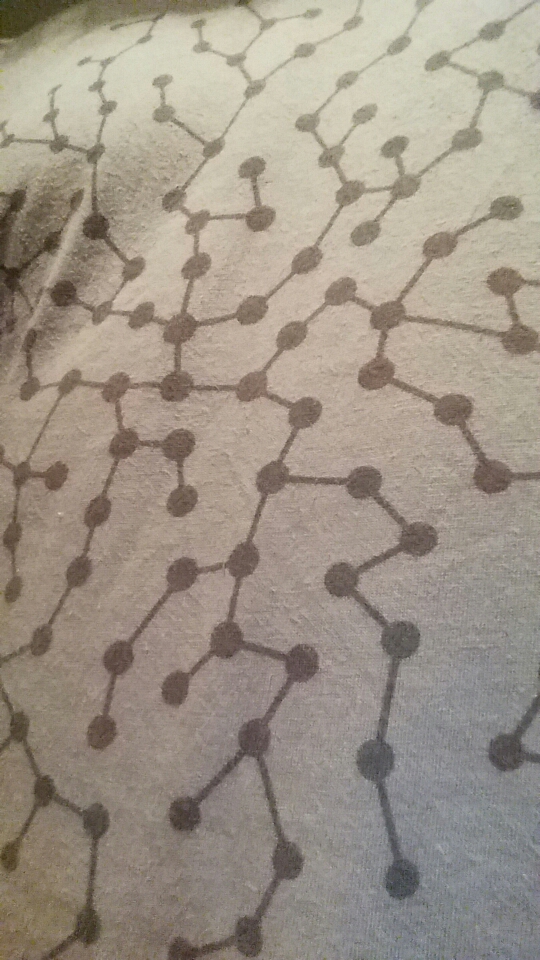
The first test print on a real shirt. This actual design is not published yet on FunkyVector. Coming soon!

“Graphics in a web browser at screen resolution” basically refers to images as you would see on any website, except on FunkyVector they are created using a canvas (a type of image that can be altered with code). Screen resolution means the images are created rather small (2000 pixels squared currently) so they render fast whilst remaining crisp and pleasing to the eye.

Being “reproduced on a server at print resolution” is the cool part of this project! FunkyVector renders any image generated in the web browser app on a server (another computer in a far away galaxy) using node and node-canvas. This means the image can be rendered at any size theoretically (10000 pixels squared currently). The server render is “pixel perfect” to the browser render – no it’s not actually, the pixels don’t match up since the resolutions differ, but since the canvas images are drawn with the canvas API which effectively consist of vector commands, the images are identical ignoring scale. In this case “pixel perfect” is actually “picture perfect” if you will, in so much as the human eye can not discern the difference.

And finally, “for production” is the icing on this funky cake; should you demand it, these pixels will arrive at your front door in around 30 days time, permanently printed on a t-shirt, poster or bag! A few clicks, some delivery details, some payment info, and a “unique” image shows up in the real world as a “unique” product.

That term “unique” again. So what is unique? It is risky describing any art as unique, but in this context it refers to mathematically unique. FunkyVector creates each image using a random seed. The possible range of seeds are large enough, that it creates a probability small enough, that for all intents and purposes, no one ever on this planet will see, let alone print, a design that you choose to print.

And that is what FunkyVector is.

Many thanks to Simon R, James T, and Sean S. for ideas, advice and inspiration along the way.

All up, it took a year to get to a working version, and longer to be satisfied enough to write this post. Into the nitty gritty: another post will be coming soon with a brief explanation of how FunkyVector was made.